calyx
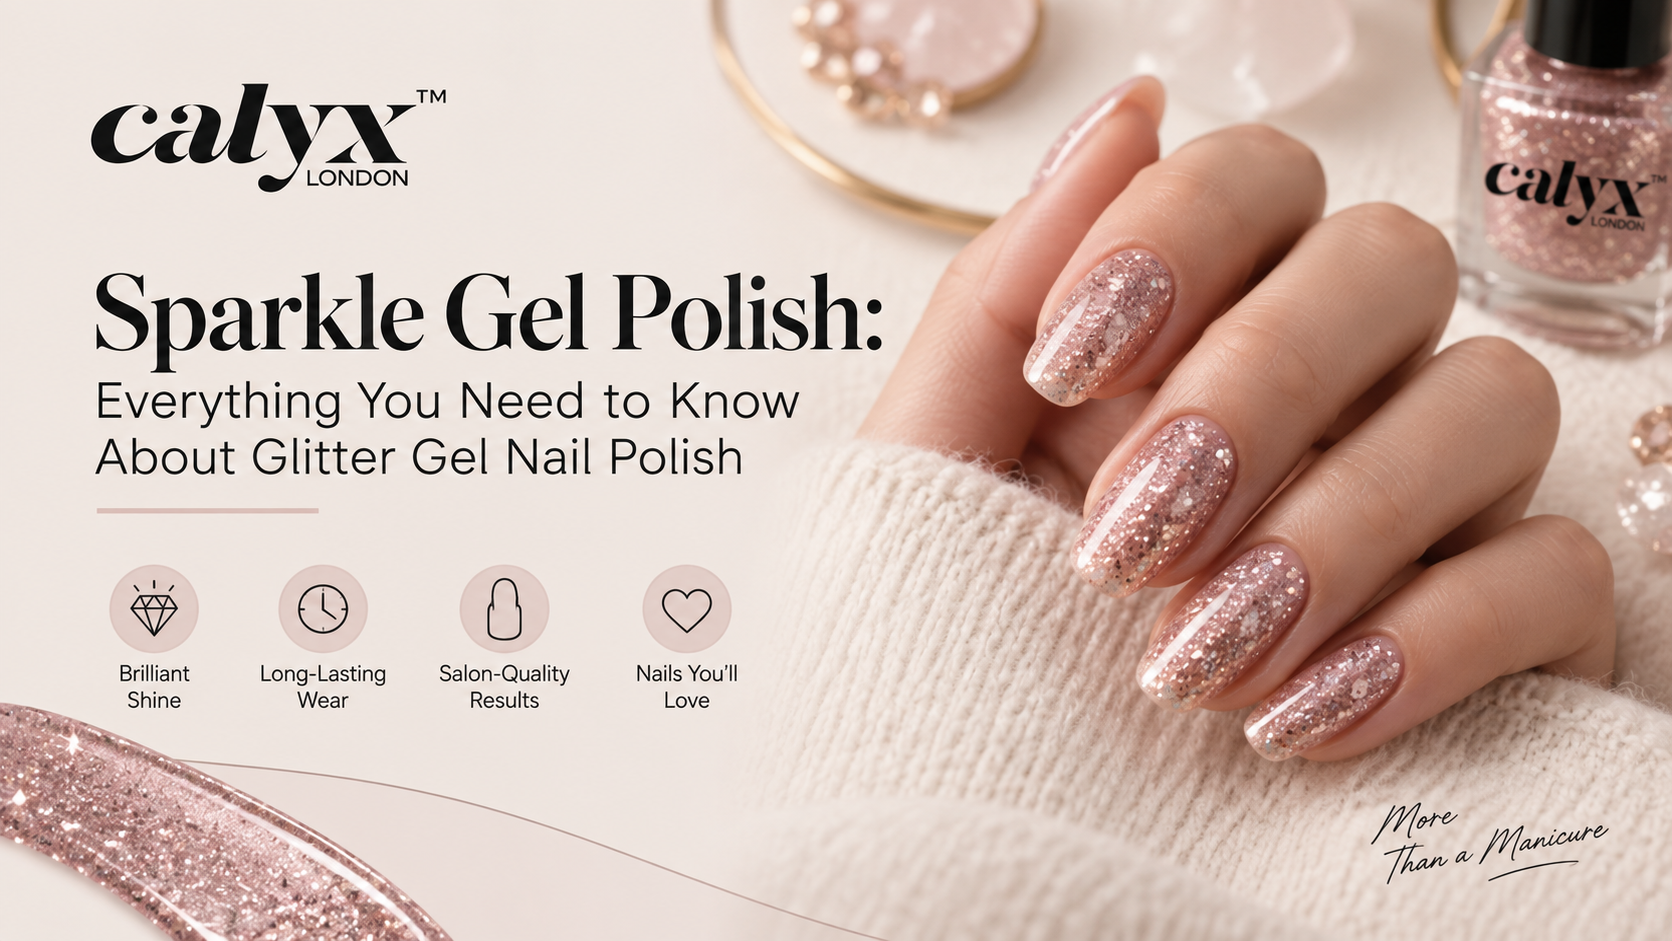

There's a reason glitter never really goes out of style in the nail world. Trends come and go, matte finishes have their moment, chrome nails take over Instagram for a season, but sparkle always finds its way back. If you've ever admired someone's manicure catching the light at just the right angle and wondered how they got that effect without it chipping within two days, you were probably looking at sparkle gel polish.
This guide walks through what makes sparkle gel nail polish different from regular glitter polish, how it's applied, what to look for when buying it, and the small details that separate a salon-quality finish from a patchy, uneven one. Whether you're a nail tech building out your product kit or someone who just wants their at-home gel manicure to look like it cost eighty dollars, there's something here for you.
Sparkle gel polish is a gel-based nail lacquer infused with reflective particles, glitter flakes, or shimmer pigments, cured under a UV or LED lamp rather than left to air dry. The gel base is what sets it apart from ordinary glitter nail polish. Instead of glitter suspended in a fast-evaporating solvent that thins out and dulls after a day or two, the particles sit inside a resin that hardens completely once exposed to light. That curing process locks the sparkle in place, which is a big part of why gel glitter manicures tend to last two to three weeks compared to the four or five days you might get from a regular glitter polish.
The sparkle can come from micro-glitter, holographic flakes, chunky glitter pieces, or fine shimmer dust, and manufacturers often blend two or more of these to create depth. A good sparkle gel nail polish doesn't just look glittery under direct light. It should have a bit of dimension even in shade, with tiny flashes of color shifting as your hand moves.
This is probably the most common point of confusion, so it's worth breaking down clearly.
Regular glitter nail polish is typically a nitrocellulose-based lacquer. Its air dries through solvent evaporation, which means the polish literally gets thinner as it dries. That's fine for a solid color, but with glitter, this shrinkage often creates an uneven, bumpy texture because the glitter particles don't settle flat. You've probably noticed this if you've ever tried to smooth out a glitter polish and felt tiny ridges under your fingertip even after it's fully dry.
Sparkle gel polish avoids this problem almost entirely. Because the gel formula doesn't rely on evaporation, and instead sets through a chemical reaction triggered by UV or LED light, the surface stays smoother and the glitter distribution looks more even. There's also a practical durability difference. Gel formulas are more flexible once cured, so they resist the chipping and peeling that plain glitter polish is notorious for, especially around the free edge of the nail where most wear and tear happens.
The tradeoff is that sparkle gel polish requires a lamp to cure, and it usually needs to be removed with acetone soaking rather than regular polish remover. It's a different system altogether, not just a fancier version of glitter polish.
Not all sparkle is created equal, and the type of glitter used changes both the look and the application experience.
The chemistry here matters more than most people realize. Gel polish is built around photoinitiators, compounds that react to UV or LED light and trigger a polymerization process. When you cure the polish under a lamp, the liquid resin transforms into a solid, cross-linked structure almost instantly.
This matters for glitter specifically because the resin encases each particle before it has a chance to shift or settle unevenly. With air-dry polish, you're racing against the clock; the glitter has more time to move around as the solvent evaporates, especially with slower-drying, heavier glitter formulas. Gel removes that variable almost entirely. Once it's under the lamp, what you see is close to what you get.
There's also a UV-blocking consideration for pigmented glitters. Some colors, particularly certain reds and holographic finishes, can be sensitive to prolonged UV exposure over time, which is why quality sparkle gel polish brands often add stabilizers to the formula to reduce fading from repeated sun exposure or tanning bed use.
Getting a clean, professional-looking result with sparkle gel nail polish comes down to technique more than the product itself. Here's a reliable approach:
If you're shopping for sparkle gel polish, a few practical factors are worth considering beyond just color.
Sparkle gel polish sits at an interesting intersection of chemistry and craft. The gel base solves nearly every practical complaint people have about traditional glitter polish, chipping, dulling, bumpy texture, while still delivering the visual payoff that makes glitter manicures fun in the first place. Getting a great result isn't really about finding some secret miracle product. It comes down to prep work, thin layered application, proper curing, and a top coat that actually does its job.
Whether you're working through a nail tech's product kit or building your own at-home gel routine, understanding how sparkle gel nail polish behaves differently from standard glitter formulas will save you a lot of frustration and a few ruined manicures along the way. Once you get the technique down, it becomes second nature, and honestly, there's something satisfying about a glitter manicure that actually lasts as long as it looks good.
Sparkle gel polish explained: why it lasts longer than regular glitter polish, plus application, removal, and buying tips for a flawless finish